Have you ever stood in front of your garage door, key in hand, and wondered if changing the lock is something you could tackle yourself? Whether it’s due to wear and tear, security concerns, or simply a lost key, changing a lock is a practical skill that can save you time and money. In addition to lock changes, understanding the basics of garage door repair can significantly enhance your home’s security and functionality.
This article will walk you through the process step by step, from assessing your current lock to testing the new one’s functionality. Ready to boost your home’s security with your own two hands? Let’s dive into the world of garage door maintenance and repair!
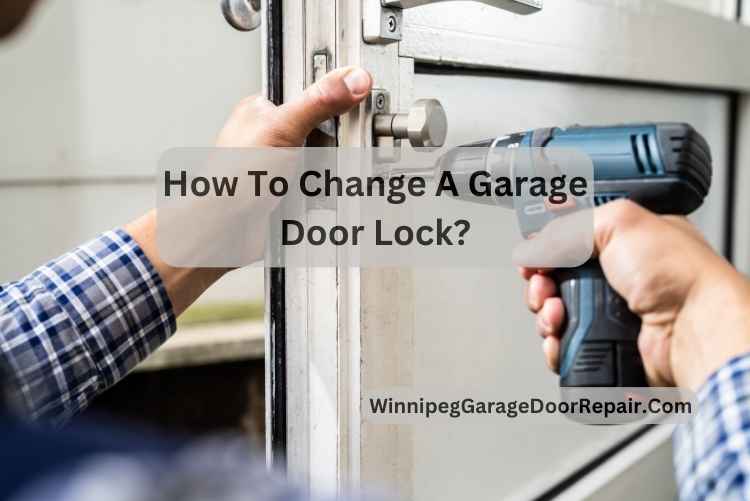
Key Points To Change A Garage Door Lock
Changing a garage door lock might seem daunting, but it’s a manageable task with the right preparation and understanding.
Enhancing your garage’s security not only protects your belongings but also gives you peace of mind. Here’s how to get started:
Assessing the Existing Lock
Understanding Your Lock: Begin by closely examining your current garage door lock, especially if you’ve experienced issues like your garage door off track, which can affect the lock’s alignment and functionality. Identify the type (e.g., T-handle, deadbolt, side lock) and note any brand or model specifics. This information is crucial for purchasing a compatible replacement and ensuring smooth operation.
Checking for Damage: Look for signs of wear, rust, or damage, particularly if the door has been off track, as this can exacerbate wear on the lock and its mechanism. Understanding the condition of your existing lock will help you determine the complexity of the replacement process and whether adjustments are needed to prevent future issues.
Gathering Necessary Tools
Essential Tools: A successful lock change starts with the right tools. You’ll typically need:
- A screwdriver set
- A new lock kit designed for your garage door type
- A drill and bits (for new installations or adjustments)
- A measuring tape
- Lubricant (to smooth out the operation)
Preparation: Organize your tools and workspace. Clear the area around your garage door to ensure you have ample room to work safely.
Removing the Old Lock
Safety First: Ensure your garage door is disconnected from any automatic opener and is securely closed. This prevents unintended movement during the lock change.
Step-by-Step Removal:
- Unscrew the fasteners holding the lock in place, typically found on the interior side of the door.
- Carefully remove the lock mechanism and handle, keeping all parts and screws together for reference.
- If your lock has a cable attached to the emergency release, detach it cautiously.
Inspection: Once removed, inspect the area for any damage or wear that could affect the installation of the new lock. Clean the space if necessary.
Installing the New Lock
Choosing the Right Lock: Select a lock that matches your door’s specifications and security needs. Consider features like keyless entry if you’re looking for an upgrade.
Installation Process:
- Position the new lock in place, aligning it with the existing holes or marking new ones if needed.
- Secure the lock mechanism with screws, ensuring it’s tight and flush against the door.
- Attach the handle or knob and any connecting rods or cables.
- If your new lock is significantly different from the old one, follow the manufacturer’s instructions closely for any additional steps.
Attention to Detail: Ensure all parts move freely and that the lock mechanism is correctly aligned with the door’s operation.
Testing the Functionality
Initial Test: With the new lock installed, gently test the handle or knob without fully closing the door. This preliminary check ensures that the basic mechanics are in place. Before proceeding to the full operation test, it might be beneficial to consider if the door mechanism itself requires attention or maintenance. Understanding how a garage door works can provide insights into its operation, maintenance needs, and how to enhance its longevity and functionality.
Full Operation Test: Close the door and engage the new lock. Test the key several times to ensure smooth operation. If your lock includes an emergency release, reconnect it and verify its functionality. This step is crucial, especially after any updates or maintenance tasks like painting, to ensure everything works seamlessly together.
Adjustments: Should you encounter any stiffness or misalignment, re-examine the installation for any adjustments. Lubricating the moving parts can also improve operation. Remember, the effectiveness of a lock can be influenced by the door’s condition, so maintaining its surface with suitable paint not only improves aesthetics but can also contribute to the overall functionality.
Conclusion
Changing a garage door lock is a straightforward DIY project that can significantly enhance your home’s security. By carefully selecting the right lock, preparing your tools, and following these steps, you can achieve a successful installation.
Remember, taking your time to assess, install, and test your new lock will ensure it provides the security and functionality you need. With your new lock in place, you can enjoy the added peace of mind that comes with knowing your garage—and its contents—are well-protected.