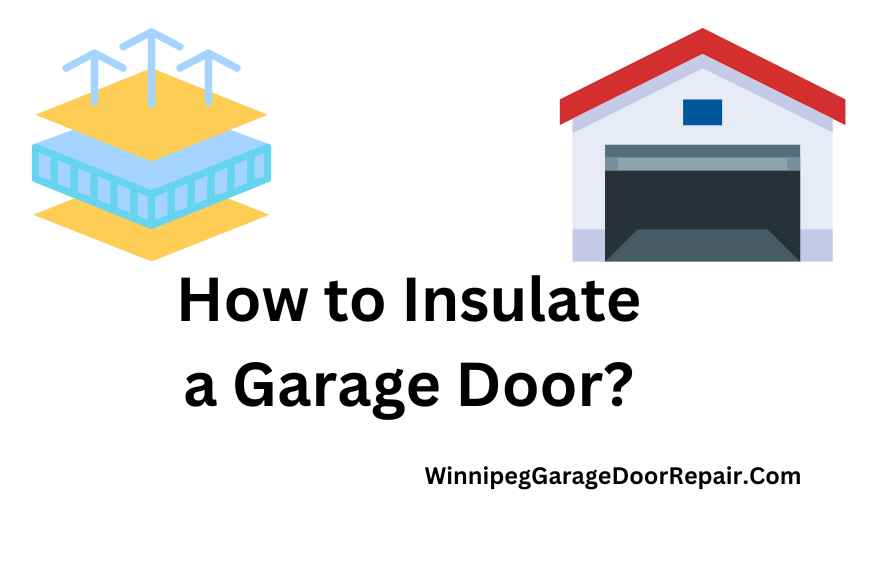
Ever felt chilly standing in your garage during winter, even when the rest of your house is warm? Installing garage insulation on your garage door can be the solution you’re looking for.
This article will guide you through the simple steps to install garage insulation, keeping your garage warmer in winter and cooler in summer.
You’ll learn about different types of garage doors, the best insulation materials for each, and how to install them properly. Let’s dive in and make your garage a more comfortable part of your home.
Step-by-Step Insulation Process
1. Cutting Insulation to Size
- When marking your insulation material, leave a small margin (about 1/8 inch) to ensure a snug fit. It’s easier to trim excess material than to add it back.
- For polystyrene foam and fiberglass, using a straightedge along with your cutting tool can help achieve cleaner cuts.
- If you’re using fiberglass panels, cutting them slightly larger than the panel size can help ensure a tight fit, as the material can compress.
2. Fitting Insulation into Panels
- Sectional Doors: Consider the depth of the door panels. Some insulation materials may need to be layered to fill the panel depth adequately. For optimal energy efficiency, don’t forget to insulate garage ceiling rafters as well.
- Roller Doors: Be mindful of the door’s operation. Insulation should not impede the rolling mechanism. Using adhesive spray can help secure lightweight materials like reflective foil without adding bulk.
3. Sealing Gaps
- For weather stripping, choose a durable material that can withstand temperature changes and wear from the door’s movement.
- When applying sealant, clean the area thoroughly first to ensure good adhesion. Masking tape can help create clean lines and protect surfaces from excess sealant.
4. Final Checks
- Operate the door several times to ensure the insulation doesn’t shift or bulge. Adjust as necessary.
- In daylight, inspect the garage door from the inside with the lights off. This can help you spot any light leaks where additional sealing might be needed.
Additional Tips and Considerations
While insulating your garage door is a great DIY project, it’s important to know when to call in professionals. If your door needs significant adjustments or if you’re not comfortable handling the installation yourself, professional installers can ensure the job is done safely and correctly.
Considering the insulated garage door cost can also help you make an informed decision about whether to DIY or hire professionals. Insulating your garage door can have a noticeable impact on your energy bills and the comfort of your home.
By choosing the right materials and following these steps, you can enjoy a warmer garage in winter and a cooler one in summer, making your garage a more usable space year-round.
Conclusion
Insulating your garage door is a straightforward project that can significantly improve your home’s energy efficiency and comfort. By understanding the types of garage doors and insulation materials, preparing properly, and following the step-by-step process, you can achieve great results.
Remember to consider the finishing touches and maintenance to ensure your insulated garage door performs well over time. With a little effort, you can transform your garage into a more comfortable and energy-efficient part of your home.