Ever faced the challenge of a boiling hot or freezing cold garage in Winnipeg? It might be time to consider insulated garage doors Winnipeg offers to replace that old door insulation.
This upgrade can significantly improve your garage’s temperature control. This guide will lead you through the process, helping you achieve a more energy-efficient and comfortable garage. Let’s embark on this transformation journey!
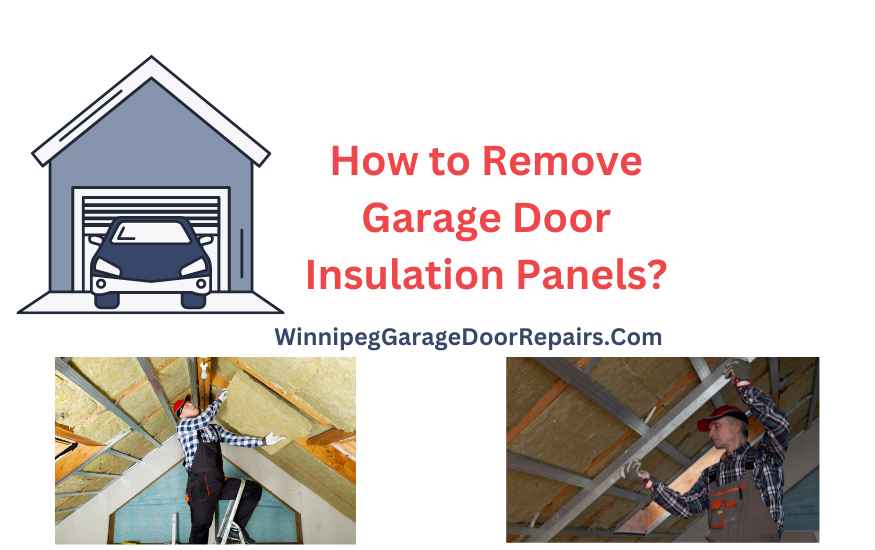
Step-by-Step Guide to Remove Garage Door Insulation Panels
Removing garage door insulation involves closing the door, preparing the workspace, wearing safety gear, cutting the old panels horizontally, removing them from the frame, measuring for new insulation, cutting the new panels to size, and securely installing them. This process ensures efficient removal and preparation for upgraded insulation, enhancing your garage’s thermal performance.
Step 1: Close the garage door and prepare the workspace.
Ensure the garage door is securely closed to prevent it from moving while you work, especially when you’re about to install Owens Corning Garage Door Insulation Kit. Remove any vehicles or obstructions to create a safe, spacious working area. This preparation minimizes risks and facilitates easier access to the insulation panels, essential for a proper installation process.
Step 2: Wear protective gear.
Safety cannot be overstated. Wear gloves to protect your hands from sharp edges or fibrous materials. Safety goggles are also essential to shield your eyes from dust particles or insulation fibers that could cause irritation or harm.
Step 3: Use a utility knife to cut the insulation panel horizontally.
With a sharp utility knife, slice horizontally across the insulation panel. Be cautious to cut deeply enough to penetrate the panel but not so deep as to damage the garage door itself. This action will segment the panel, making it simpler to remove in parts.
Step 4: Remove the panel pieces from the rails.
Gently detach the cut sections of the panel from the door’s framework. Some areas may be more tightly fitted or adhered, requiring careful prying or peeling to avoid damaging the door’s surface.
Step 5: Measure the area for replacement.
With the old insulation removed, measure the panel areas accurately, especially if you’re considering garage door insulation for hot climates. These dimensions are critical for purchasing or cutting new insulation that fits perfectly, ensuring no gaps or overlaps that could compromise insulation efficiency in extreme temperatures.
Step 6: Cut a new panel to size.
Using the measurements obtained, cut your new insulation material to fit each panel section of the garage door. Whether using a utility knife or a specialized tool, ensure the cuts are clean and precise to fit the door panels snugly.
Step 7: Position and install the new panel securely.
Place the new insulation panels into the door sections carefully, ensuring they sit flush against the door surfaces. Secure them firmly to prevent slippage or gaps that could allow air leaks, undermining the insulation’s effectiveness.
Conclusion
Upgrading your garage door insulation is a practical move towards a more energy-efficient and comfortable home. By carefully removing old panels and installing new, high-quality insulation, you can enjoy a cooler summer and a warmer winter in your garage. Embrace the change and reap the benefits of a well-insulated space!