Is your garage door not opening as smoothly as it used to? This article will guide you through adjusting your garage door spring, specifically focusing on garage door torsion spring Winnipeg, a simple fix that can make a big difference. You’ll learn how to identify the right springs, adjust tension, and test your door for perfect balance. Ready to make your garage door work like new? Let’s get to it!
Essential Steps to Adjust Garage Door Spring
A well-functioning garage door is essential for the convenience and security of your home, especially in areas like Winnipeg where weather can affect door operation.
One of the key components in ensuring smooth operation is the garage door spring. Over time, these springs may require adjustments due to normal wear and tear.
This comprehensive guide will walk you through the process of adjusting your garage door spring, ensuring your door operates efficiently and safely.
Step 1: Identify the Springs
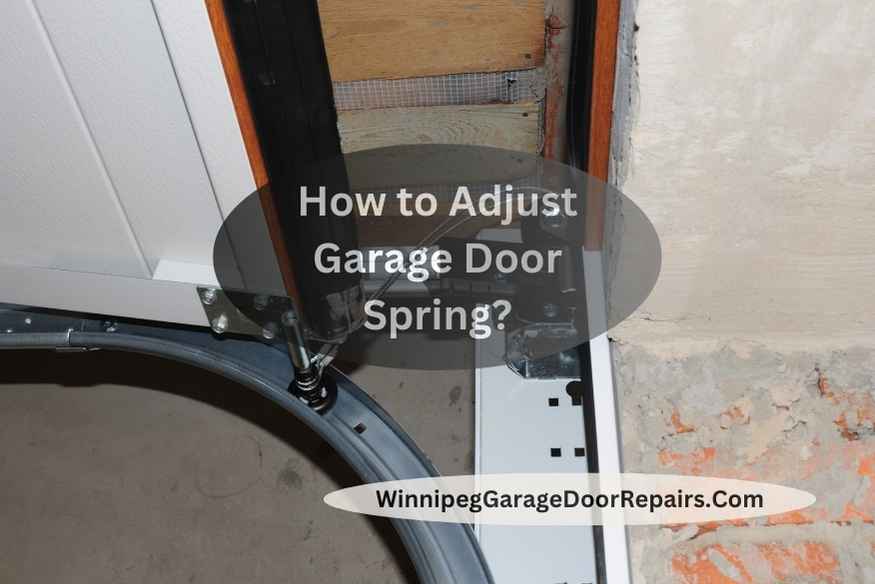
The first step in adjusting your garage door spring is to correctly identify the springs. Garage doors typically use torsion springs, located above the garage door on the metal shaft.
These springs are under a significant amount of tension and are crucial for the lifting mechanism of the door. It’s important to understand the type of spring system your door uses, as the adjustment process can vary.
Torsion springs are more common in newer homes and are preferred due to their longevity and stability.
Read More:- How to Open a Garage Door With a Broken Spring?
Step 2: Mark the Cable Position
Before you begin adjusting the springs, it’s important to mark the position of the garage door cables. This step is crucial for ensuring that you can reattach the cables in the exact same position after making adjustments.
Use a marker or a piece of tape to mark the cable’s position on the track. This will help you maintain the correct alignment and tension in the cables, which is essential for the smooth operation of your door.
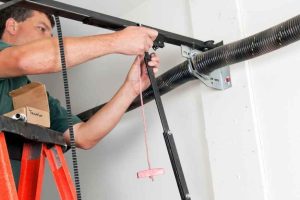
Step 3: Attach Winding Bars
The next step involves attaching winding bars to the winding cones of the springs. Winding bars are specialized tools designed to safely adjust the tension in garage door springs.
It’s important to use winding bars that fit securely into the holes of the winding cone to prevent them from slipping out during adjustment, which could lead to injury.
Insert the winding bars fully into the winding cone before making any adjustments.
Step 4: Loosen the Spring Tension
To adjust the spring tension, you’ll need to first loosen it. This is done by turning the winding bars counterclockwise. It’s important to proceed with caution and keep a firm grip on the winding bars, as the springs are under high tension.
A sudden release of this tension can be dangerous. Stand to the side of the winding bars while making adjustments to avoid injury in case the bars slip.
Step 5: Adjust Spring Tension
Adjusting the spring tension is a critical step. Turn the winding bars in increments of 1/4 turns. The amount of tension required can vary based on the size and weight of your garage door.
For a standard 7-foot door, the recommended starting tension is usually around 30 quarter turns.
This can vary, so it’s important to refer to your garage door manufacturer’s specifications. Adjust the tension gradually, checking the balance of the door after each adjustment.
Step 6: Check Cable Tension
After adjusting the springs, it’s important to check the tension of the cables. The cables should be taut, but not overly tight.
A correctly tensioned cable will have a slight amount of give when pulled but should not sag or have excessive slack.
This step ensures that the door will operate smoothly and that the cables are not under undue stress, which could lead to wear or breakage.
Read More:- How to Install Single Torsion Spring on Garage Door?
Step 7: Reattach Cables
Once the spring tension is correctly adjusted, reattach the garage door cables to the track.
Use the marks you made earlier to ensure that the cables are reattached in the correct position. This step is crucial for maintaining the alignment and balance of the door.
Step 8: Test the Garage Door
The final step is to test the garage door. Carefully open and close the door several times to ensure that it operates smoothly. Pay attention to any signs of binding, uneven movement, or excessive force required to open or close the door.
These could be indications that further adjustments are needed. The door should stay open on its own about three to four feet above the ground. If it does not, additional adjustments to the spring tension may be necessary.
Conclusion
Adjusting your garage door spring is a task that can significantly improve the functionality and safety of your garage door. By following these steps carefully, you can ensure that your door operates smoothly and efficiently. Remember, safety is paramount, so take your time and don’t hesitate to seek professional assistance if needed. With the right approach, you can maintain a well-functioning garage door that serves your home reliably for years to come.