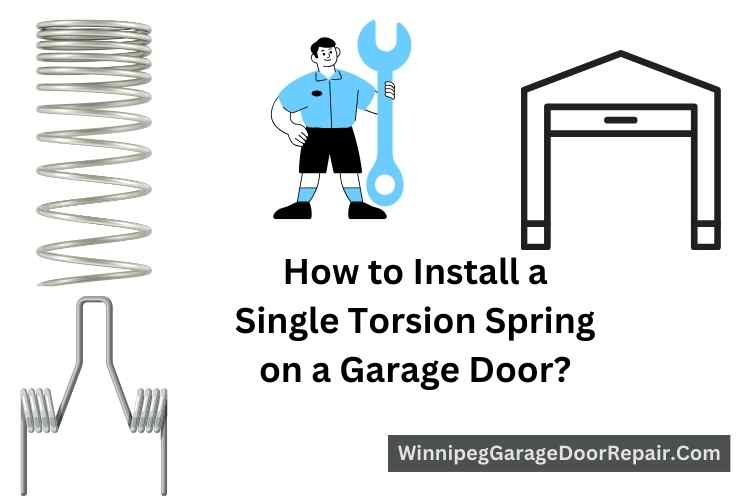
Ever faced a garage door that just won’t open right? Installing a new torsion spring can fix that. Before diving into the DIY route, it’s worth considering consulting a garage door expert to assess the situation and provide professional advice. This article will guide you through each step of installing a single torsion spring on your garage door, with insights from industry professionals.
You’ll learn about safety precautions, the tools you’ll need, and detailed instructions for each part of the process, ensuring you’re well-prepared to tackle the job. Ready to make your garage door smooth and reliable again? Let’s get to it!
Before Starting: Safety First
Emphasize the importance of wearing appropriate safety gear and ensuring the workspace is clear and secure. Mention the value of having a comprehensive understanding of the task ahead by reviewing all instructions and safety warnings associated with your specific garage door model. Highlight the importance of having a second person to assist with the process for added safety and efficiency.
Clamp the Door to the Track
Detail the process of clamping the door, including selecting the right type of locking pliers and the best placement on the track to ensure stability. It’s crucial during this phase, especially when you’re preparing to tell if garage door springs are broken, to ensure that the door is evenly supported and won’t shift during the repair process.
Proper support is essential not only for the safety of the individual performing the repairs but also for the integrity of the door itself. Offer tips on how to check for even support and adjustments that might be needed to maintain the door’s balance throughout the repair.
Loosen and Unwind the Functional Garage Door Spring
Provide a step-by-step guide on safely loosening and unwinding the existing spring, emphasizing the need for caution and the correct use of winding bars. Include advice on how to recognize when the spring is fully unwound and how to maintain control throughout the process to prevent accidents.
Disconnect the Springs and Secure the Torsion Tube
Discuss the tools needed for this step and offer detailed instructions on how to properly disconnect the springs from the garage door system. Explain how to secure the torsion tube in place, ensuring it doesn’t move as you work on removing and replacing the spring.
Remove the Old Spring and Install the New Spring
Expand on how to correctly identify the old spring’s orientation and how to match it with the new spring. Offer troubleshooting tips for common issues that might arise during this step, such as difficulty in sliding the spring onto the torsion tube.
Install the New Center Bearing
Delve into the importance of the center bearing in the overall function of the garage door and provide a detailed explanation of how to install the new bearing correctly. Include tips on ensuring the bearing is properly aligned and secured.
Insert Cables and Tighten Drums
Explain the role of the lift cables and drums in the operation of the garage door. These components work together to ensure smooth and efficient movement. The lift cables are crucial for transferring the force from the springs to the door itself, allowing it to open and close with ease.
When attaching the cables, it’s important to route them correctly through the pulleys and around the drums, then tighten the drums to achieve the right tension and alignment. This process is vital for the door’s operation and safety.
However, it’s equally important to replace garage door springs, as this can significantly impact the system’s functionality. Broken springs can lead to uneven lifting, increased wear on cables and drums, and potentially hazardous situations. After ensuring the springs are in good condition, you can proceed with the installation, knowing that the entire system is set up for optimal performance.
Wind the Tension Spring
Discuss the critical nature of this step for the safety and functionality of the door. Provide a detailed explanation of how to determine the correct number of turns for your specific door and spring type, and offer tips on how to keep track of turns for accuracy.
Finish the Installation
Cover the final checks and adjustments needed to ensure the garage door operates smoothly and safely after the new spring is installed. Suggest testing the door manually before reconnecting any automatic door openers and making fine-tuning adjustments as necessary.
Conclusion
Reiterate the importance of taking safety precautions throughout the process and the benefits of properly installing a torsion spring, such as improved door operation and longevity. Encourage readers to review their work and seek professional assistance if they encounter any issues beyond their comfort level.
By expanding each section with more detailed instructions, safety tips, and troubleshooting advice, the article becomes a comprehensive guide that empowers homeowners to tackle the task of replacing a garage door torsion spring with confidence, while always prioritizing safety and precision.