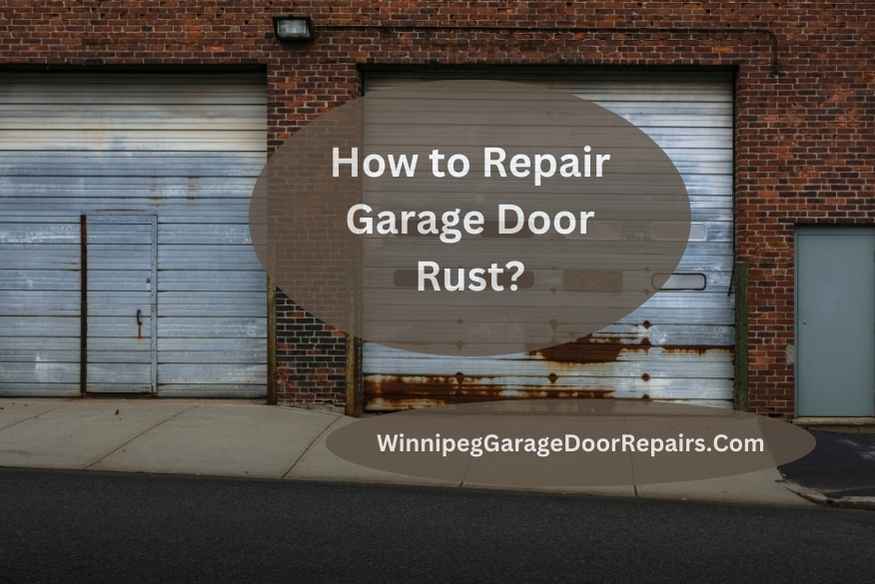
Is your garage door plagued by unsightly rust spots, and are you considering garage door repair to restore its former glory? Imagine a garage door that looks as good as new, enhancing your home’s curb appeal. In this article, we’ll explore effective garage door repair techniques to bid farewell to rust and fortify it against the elements. You’re about to discover how to maintain a pristine and durable garage door. Let’s get to it!
10 Steps How to Repair Garage Door Rust
Rust on a garage door can be unsightly and compromise the door’s structural integrity.
With the right steps and some elbow grease, you can restore your garage door to its former glory. Here’s a comprehensive guide on how to repair garage door rust:
Must Read:- How to Repair Dent in Garage Door?
Step 1: Safety First
Your safety should always be the top priority when tackling any repair project. Start by ensuring you have the necessary safety equipment, including sturdy gloves to protect your hands and safety glasses to shield your eyes from debris. Disconnect the power to your garage door opener to prevent any accidental openings while you work.
Step 2: Assess the Rusted Areas
Begin by closely inspecting your garage door for areas affected by rust. Look for telltale signs such as bubbling or flaking paint, as these often indicate rust beneath the surface. Make a comprehensive list of all the areas that require attention.
Step 3: Remove Loose Rust and Debris
Using a wire brush or sandpaper, meticulously remove any loose rust, flaking paint, and debris from the affected areas. This essential step prepares the surface for further treatment and ensures a smoother finish once the repair is complete.
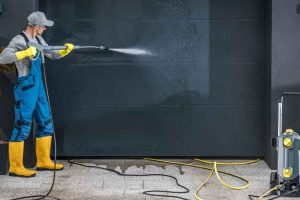
Step 4: Clean the Surface
Thoroughly clean the rusted areas with a mixture of water and a mild detergent. This effectively removes any remaining dirt, grease, or dust that might interfere with the repair process. After cleaning, rinse the surface with clean water and allow it to dry completely before proceeding.
Step 5: Sand the Rusted Areas
To achieve a smooth and even surface for repair, use fine-grit sandpaper to gently sand the rusted areas. This step helps remove any remaining rust particles and creates a clean canvas for the subsequent repair steps. While sanding, be sure to wear a dust mask and eye protection to avoid inhaling dust particles or getting debris in your eyes.
Must Read:- How Many Satchels For A Garage Door?
Step 6: Apply Rust Converter
Now it’s time to treat the rusted areas with a rust converter. Rust converters are chemicals designed to chemically transform rust into a stable compound that can be painted over. Follow the manufacturer’s instructions closely when applying the rust converter. Typically, you’ll need to brush or spray it onto the affected areas and allow it to dry for the specified duration.
Step 7: Fill Deep Rust Pits (If Necessary)
If your garage door has deep rust pits or holes, you’ll need to fill them with an appropriate body filler. Look for a high-quality body filler specifically designed for automotive or metal repairs. Follow the product’s instructions for mixing and application. Fill the pits or holes evenly, and use a putty knife to create a smooth surface. Allow the filler to dry completely.
Step 8: Sand the Repaired Areas
After the filler has dried, it’s essential to sand the repaired areas again to achieve a seamless finish. Start with coarser-grit sandpaper and gradually switch to finer-grit sandpaper as you progress. The goal is to make the repaired areas blend seamlessly with the rest of the door’s surface.
Step 9: Apply Primer
Primer is a crucial step in the rust repair process, as it provides an additional layer of protection against future rust formation and ensures that the paint adheres properly. Apply a rust-inhibiting primer to either the entire garage door or just the repaired sections, depending on your preference. Follow the primer manufacturer’s recommendations for application and drying times.
Step 10: Paint the Garage Door
The final step in the rust repair process is to paint the garage door. Choose a high-quality exterior paint that is suitable for metal surfaces. Begin by applying a thin, even coat of paint, and allow it to dry according to the paint manufacturer’s instructions. Depending on the type of paint used, you may need to apply multiple coats for optimal coverage and protection. Once the paint has dried completely, your garage door should look as good as new, with rust no longer posing a threat.
Conclusion
Repairing rust on your garage door may seem like a daunting task, but with the right guidance and precautions, it’s a manageable DIY project. By following the ten steps outlined in this article, you can restore the beauty and functionality of your garage door while preventing further rust-related issues. Don’t let rust hold your garage door back – tackle it confidently and enjoy a rust-free door for years to come!