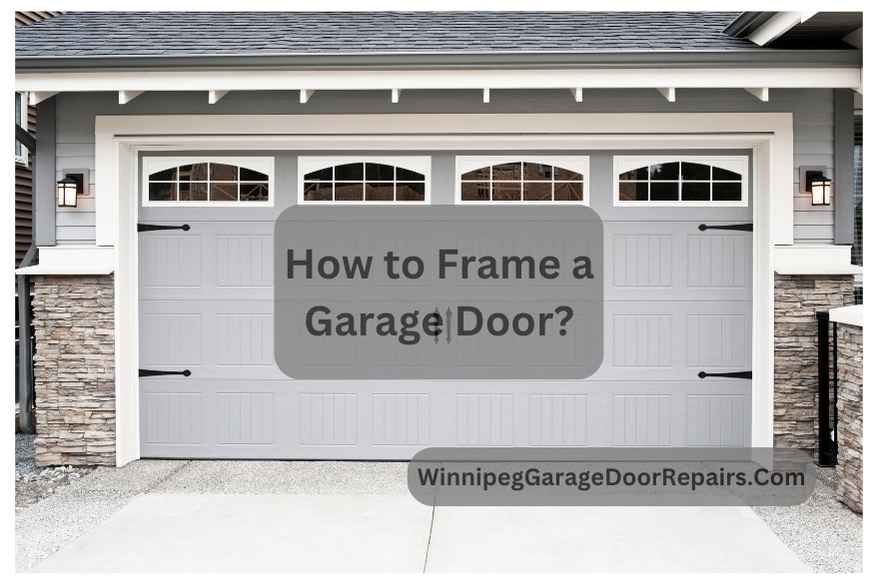
Ever faced a misaligned garage door and wondered how to fix it? If the task seems daunting, remember that services like 24 hour garage door repairs Winnipeg are always available to assist you. This article is your go-to guide for framing a garage door correctly.
You’ll learn the steps for proper measurement, choosing the suitable materials, and the installation process. Understanding these will save you time and ensure a well-functioning garage door. So, if you’re ready to tackle this project, let’s get to it!
Steps to Frame a Garage Door
Framing a garage door is essential in ensuring it functions properly and fits seamlessly into your home’s structure.

This process involves several key steps, each requiring attention to detail and accuracy.
Read More:- Choosing Garage Door Repair Vs. Replacement in Winnipeg
1. Bringing the Right Supplies
Successful garage door framing starts with having the right tools and materials. Gather a reliable tape measure, a sturdy saw, a hammer, nails, shims, and high-quality framing lumber.
Opting for durable materials ensures your garage door frame will be robust and long-lasting, providing optimal support and alignment for your garage door.
2. Measuring the Rough Opening
The foundation of garage door framing is accurately measuring the rough opening. This opening should be slightly larger than the garage door to ensure smooth operation.
Precise measurements are critical to a proper fit, preventing future door alignment and function issues.
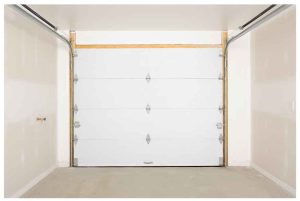
3. Installing the Head Jamb
The head jamb, the horizontal piece at the top of the door frame, is crucial for stability. It must be level and firmly attached to the framing.
This component bears the door’s weight and must be perfectly aligned to ensure the door operates smoothly.
4. Measuring the Floor-to-Ceiling Height
Knowing the distance from the floor to the ceiling is essential for correct door alignment.
This measurement influences the placement of the header, which supports the top part of the door frame, ensuring the door is balanced and operates efficiently.
5. Attaching the Goal Post
The goal post is the framework around the door, including the side and top jambs. Ensuring these components are perpendicular and flush with the building’s exterior is essential.
A well-constructed goalpost provides a clean, professional finish to your garage door framing.
6. Installing the Side Jambs
The side jambs are the vertical frames on either side of the door. They should be straight and securely attached to the framing.
These jambs guide the door’s movement and provide structural support, making their proper installation crucial for its functionality.
Read More:- How to Replace Seal on Bottom of Garage Door?
7. Attaching the Center Bracket Framing
This final step involves securing the center bracket, essential for holding the garage door’s spring system.
The bracket needs to be robustly attached and correctly aligned to ensure the safety and efficiency of the door’s operation.
Conclusion
Framing a garage door is a valuable home improvement skill that enhances your home’s functionality and aesthetic appeal. By carefully following these steps, ensuring precise measurements, and securing all components properly, you can achieve a well-framed garage door that operates smoothly and adds to your home’s overall charm.